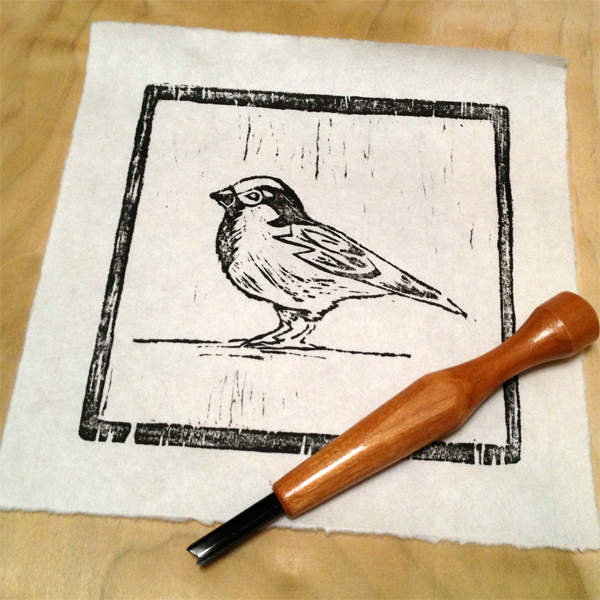
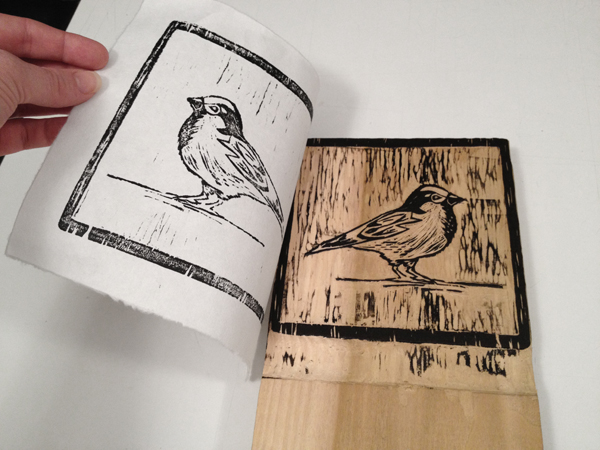
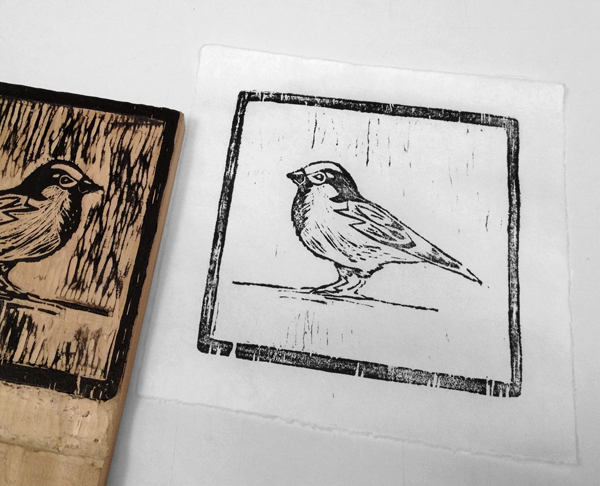
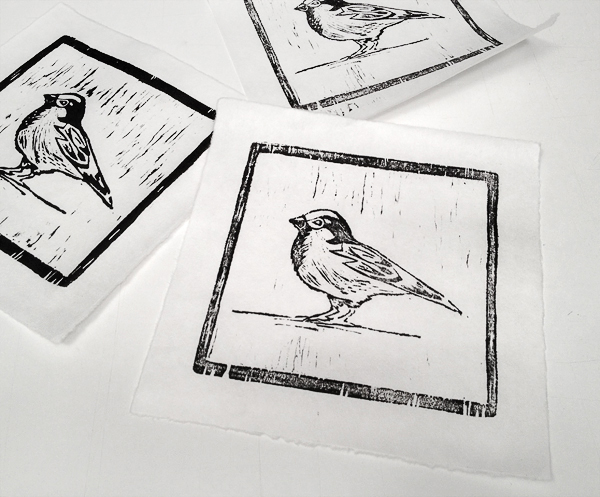
There are so many methods around today that we can use to print a picture. Though the majority of them are quicker and more efficient, some of us find fullness, tranquility, and artistic expression in the ancient art of hand printing that is unmatched by any other media. With this tutorial, you'll learn the technique for carving and printing your very own woodblock.
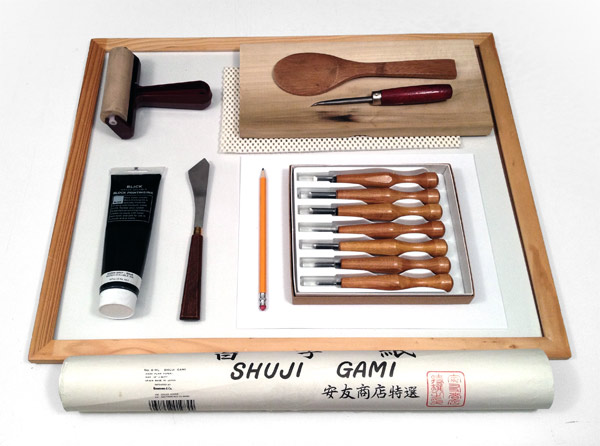
Supplies
- Sheet of drawing paper.
- Lead pencil.
- Block of wood.
- Curved burnisher or bone fold.
- Set of wood carving gouges.
- Rubber or non-slip mat (optional). Can be cut from an old place mat.
- Glass surface (like the glass from a picture frame).
- Water-based block printing ink.
- Putty knife.
- Rubber brayer.
- Block printing paper like Mulberry.
- Wooden Rice spoon.
The best wood to use as a beginner is birch plywood. It is cheap, but still has a nice surface to work with. Regular birch, pine and poplar are also great for block printing. I like to use poplar because it's soft and I love the look of its porous surface.
You may also need sharpening tools for your carving gouges. Such tools include a strip of tooling leather, a Slipstrop, or a sharpening stone. To sharpen your knives, follow the instructions included with the tool or do a search for "how to sharpen a gouge knife".
1. Draw Your Image
Method 1
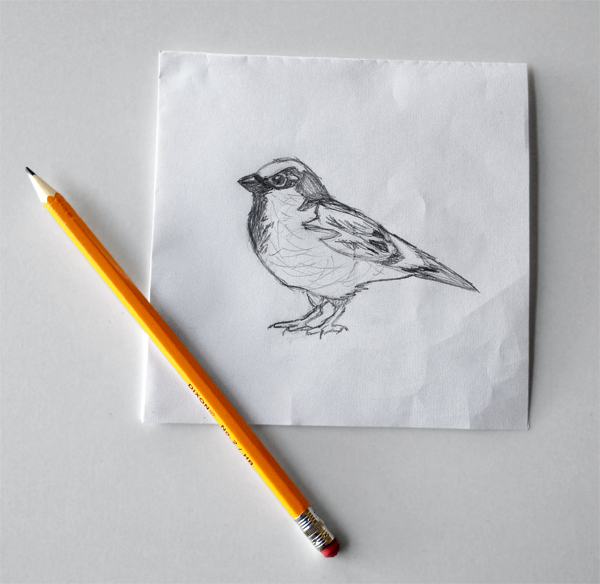
Sketch your design on a piece of plain white paper using lead pencil.
Method 2
If you're not into drawing an original design, you could print an image from the computer and cover the areas you want to print in lead pencil. If you're using an image that is not your own, make sure you have the rights to use it.
Try out some images from photodune or graphicriver. This image was purchased from photodune and used as a reference while the drawing was free-handed in pencil. Again, even if you are purchasing an image, you need to read the fine print and make sure you are using it legally.
2. Transfer Your Drawing
Step 1
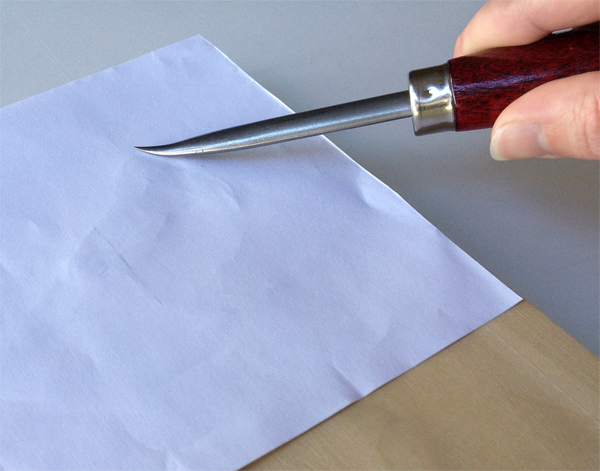
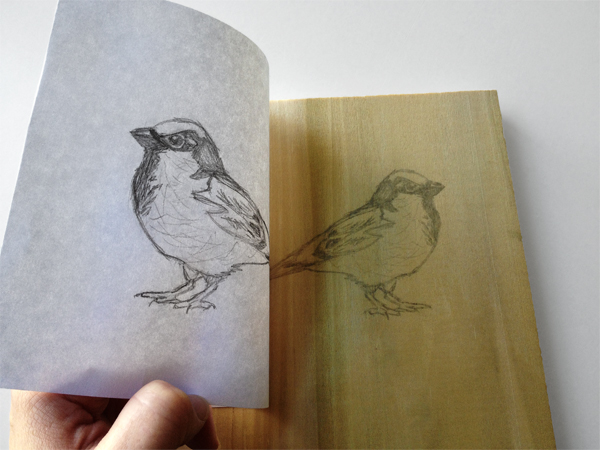
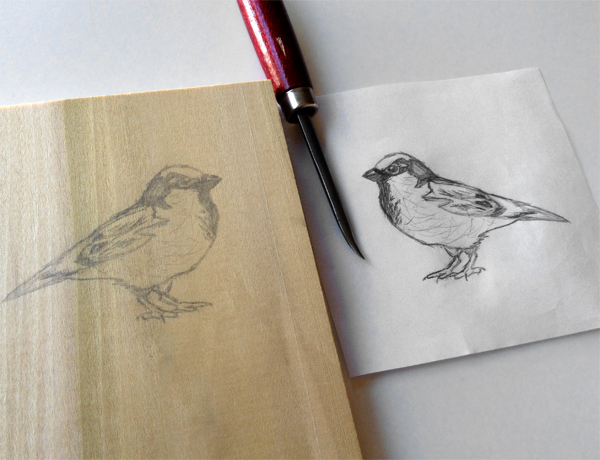
Turn your drawing face down onto the wood you want to carve. Take your burnisher or bone fold and firmly rub the back of the drawing. The pencil will transfer to the wood.
Step 2
Carefully lift up a corner of your paper to check that your image is completely transferred.
Step 3
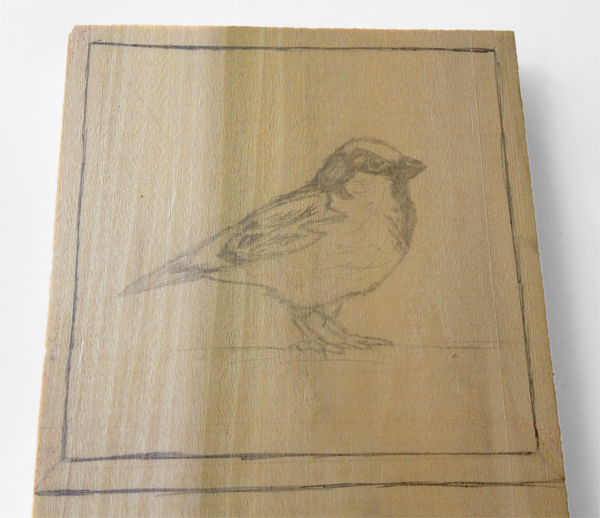
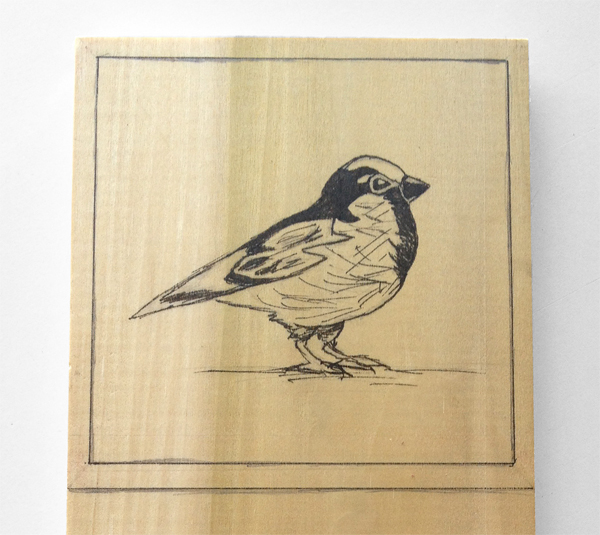
Go over the illustration with a pen so it's easier to see.
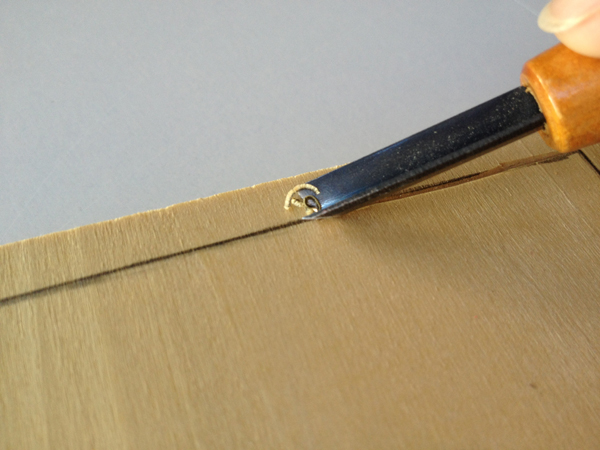
3. Start Carving
Step 1
Place your wood on top of the rubber mat so that it doesn't slip.
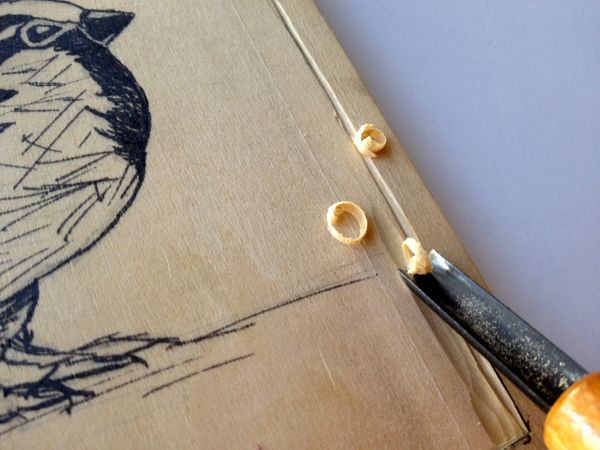
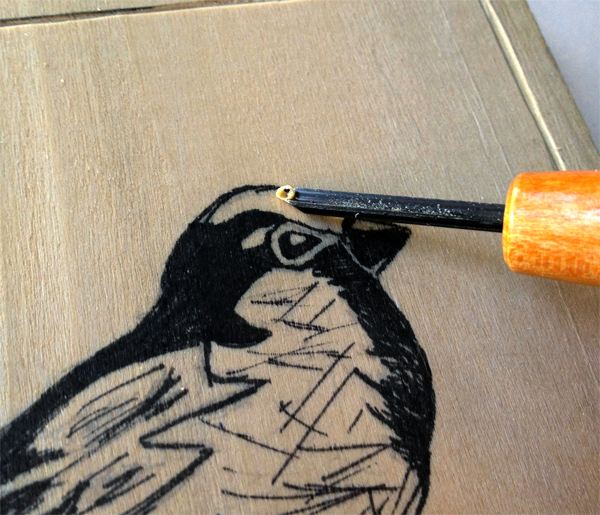
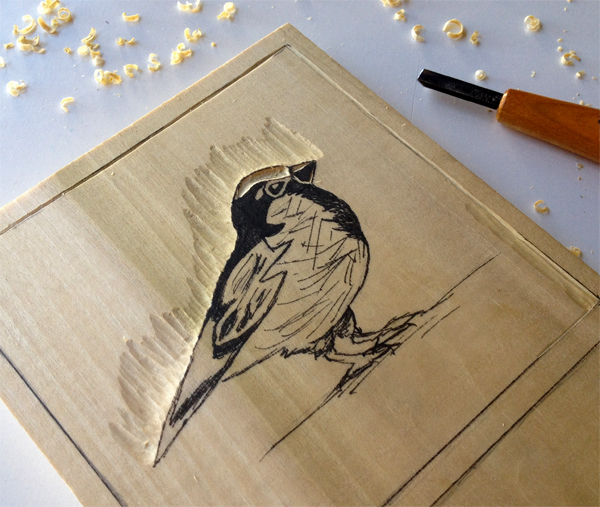
Begin to carve our your design.
Here are some pointers to follow:
- The wood can be bigger than the carving. You can have extra wood surface at the bottom of your image which gives your wrist somewhere to sit and a dry surface to hold when printing.
- Cut away from your body.
- Keep all body parts away from the direction your knives are cutting. Be aware of where your free hand is at all times. You might think it's easier to carve with one hand out front to hold your wood, but it's not worth it!
- You don't need to carve too deeply. A simple scratch on the surface of the wood can show up in your print.
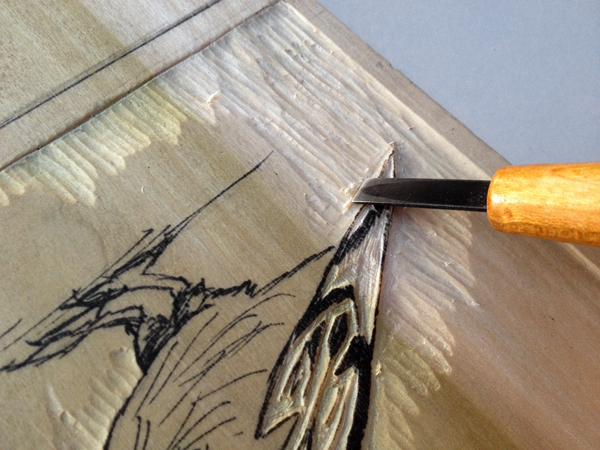
- Use the V-shaped gouge to carve against the grain of the wood and to draw out detail.
Step 2
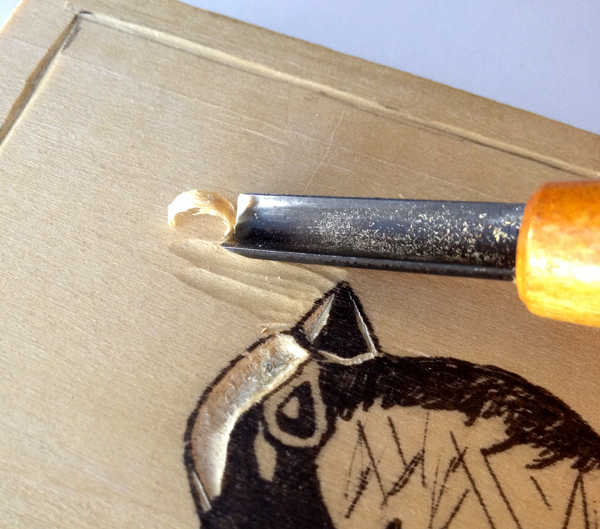
Use the U-shaped gouges to carve with the grain of the wood.
Step 3
Use the small U-shaped gouge to carve detail.
Step 4
Do not cut straight down into the wood. If you do, your carving will be weak and can break apart. Cut at a shallow angle.
If you are having trouble getting a clean cut, you may need to sharpen your knives.
4. Proof Your Block
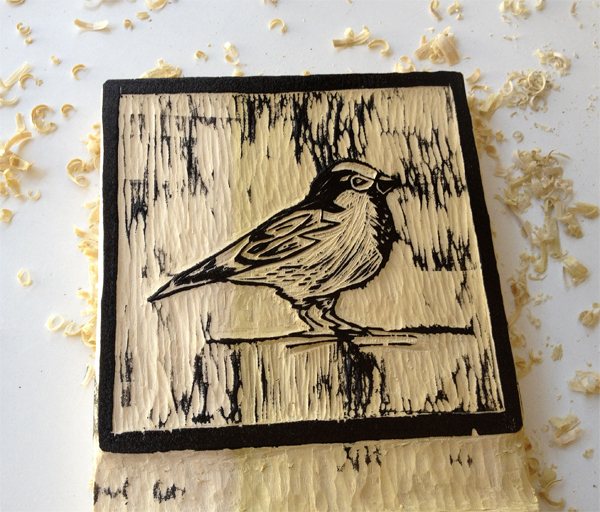
Once you have your image carved out, it's a good idea to proof your block. It is not easy to tell what your print will look like just from looking at the carving.
Step 1
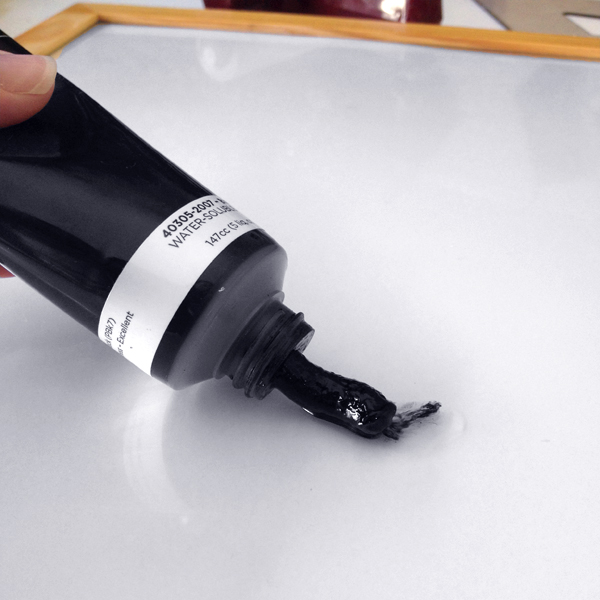
Apply a line of ink to your sheet of glass
Step 2
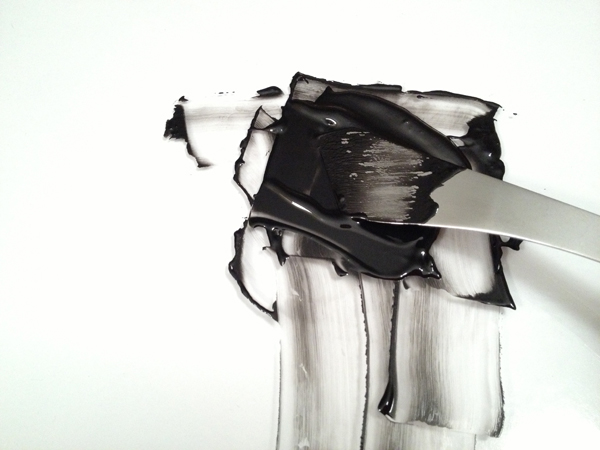
Work the ink with your putty knife until the ink is mixed and smooth.
Step 3
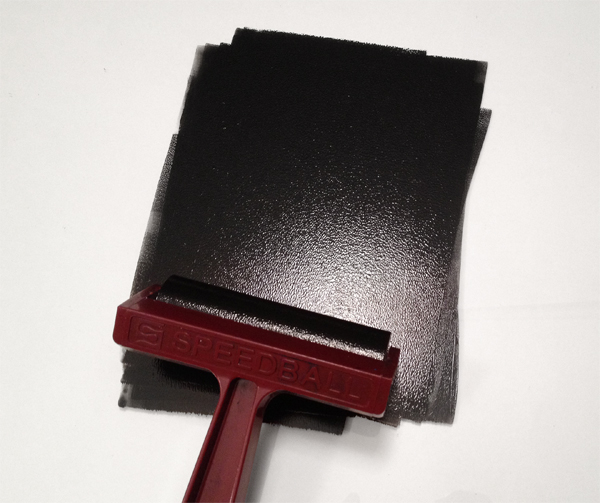
Make an even line of ink with the putty knife and use your rubber brayer to roll out an even surface of ink.
If you have the right amount of ink, you will hear a quiet hissing sound while rolling the brayer. If you have too much ink, the hissing will be louder and sound more like Velcro. If this happens, scoop up all the ink with the putty knife and try again with less ink.
Step 4
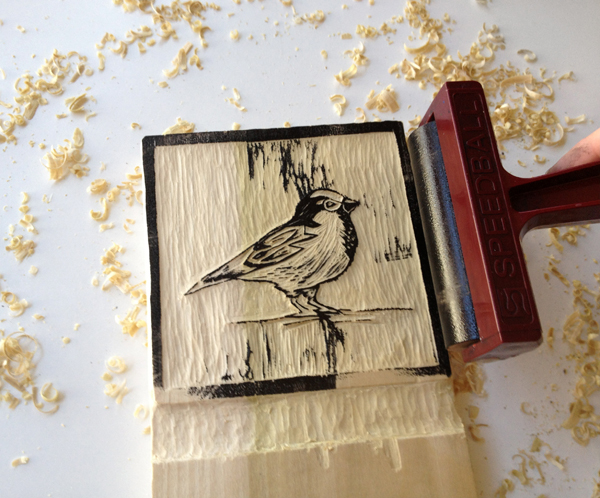
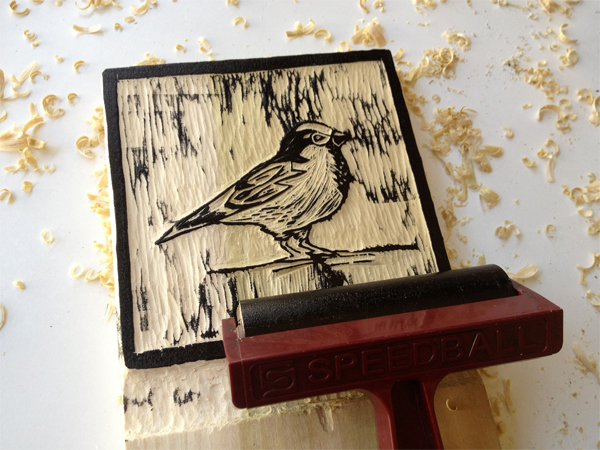
Roll the brayer onto the block moving from all four directions. Each time you roll the ink on, you will have to "charge" the brayer by rolling more ink onto it. You do not need to push down on to the block when inking it. Just roll the ink along the surface and make sure it is evenly covered.
Step 5
At this point, you might see some areas that are picking up ink that you don't like. This is the time to fix it with additional carving. If you do this, wash your brayer and glass with water before the ink dries.
5. Print Your Block
Step 1
Once you think you've got the image carved the way you like, it's time to print.
Cut your paper to the preferred size. If you're planning on framing the piece, keep standard frame sizes in mind. Other than that, you can make the paper size whatever you want.
If you are just starting out, it might be wise to cut out some practice paper if you don't want to waste the good stuff. Newsprint or printer paper can be good for this. Just remember that the print may look different depending on the paper you use.
Step 2
Apply a line of ink, roll it out with the brayer, and ink your block as demonstrated in Step 4 (proofing your block).
Step 3
Once your carving is coated with ink, carefully place your paper face down onto the block. If you are using Kozo paper, the face side is bumpy and the back side is smooth.
Step 4
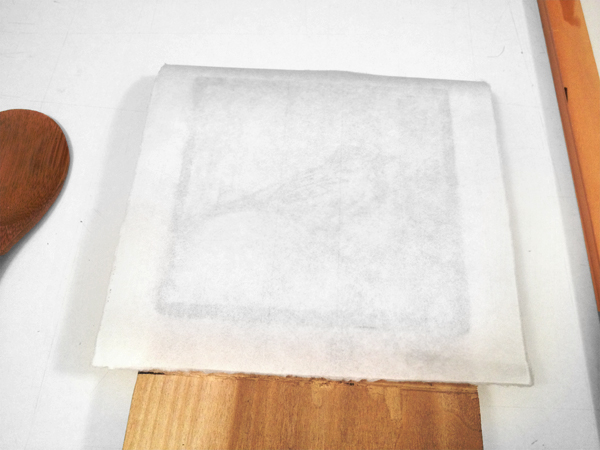
Starting from the center, lightly press down on the back of the paper with the bottom of your rice spoon. Be very careful to keep your paper from sliding around. Professional printers would normally use a baren for this as it is great to get even pressure over the whole block, but a rice spoon or some other flat, smooth surface works just fine.
Step 5
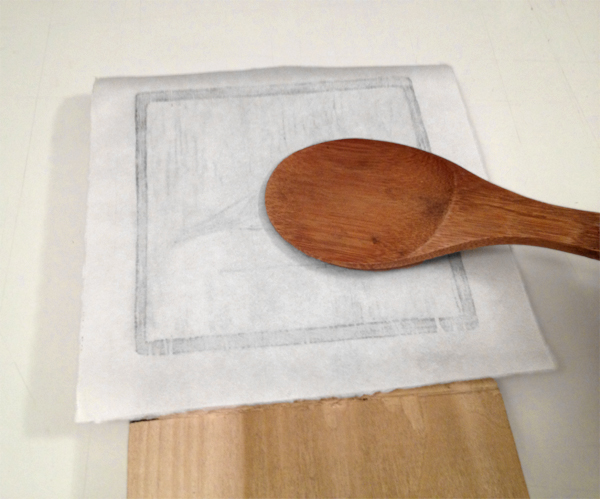
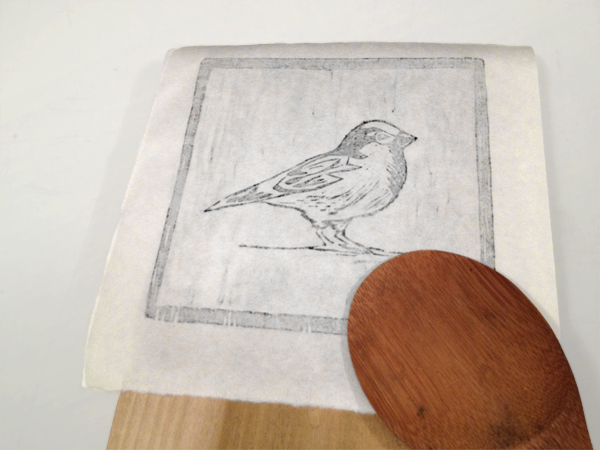
Do another pass with the rice spoon, starting from the center again, but press a little harder. Keep rubbing the entire image. You will start to see the ink show through the paper. Don't try to make the process faster by rubbing hard. You might make your print blurry or even rip the paper.
Step 6
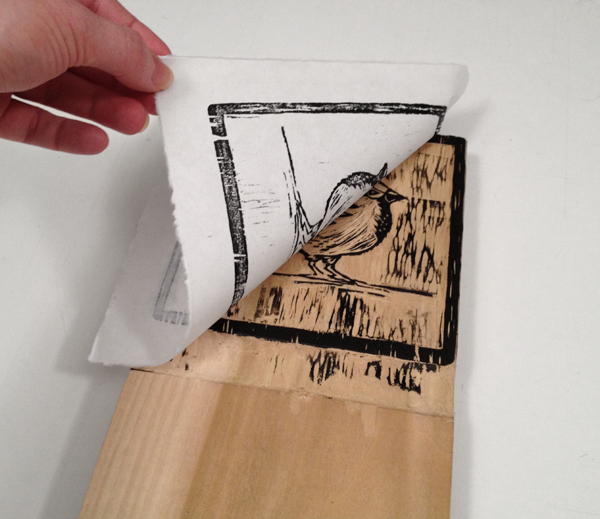
Slowly lift the paper from the block. Make sure your hands are clean! After all that work you don't want to see any fingerprints.
6. Allow to Dry
Step 1
Your print is complete. Lay it out or hang it to dry.
You may want to make changes to the block again and that's totally okay! Just make sure your block is dry so your knife does not slip while carving.
Is your print too blotchy? Print again with less ink on the block. Is your print too light? Roll on more ink. If you are going to print multiples, you should keep count of how many times you rolled ink onto your block. You could even write that number on the back of the block to remember for future printing.
Step 2
Clean up with water. Since you used water-based ink, you don't need to use any cleaning products. Just try to use as little water as possible to not be wasteful. You don't have to clean the woodblock, but if you want to, you can use a little water and lightly scrub with a soft brush or cloth. Be careful, though, not to scrape or scratch the surface.
7. Frame Your Print
Nice work! Now that you've got it down, keep going. The more you carve, the better you will get. You can even get experimental and use other tools like screwdrivers or dremel tips to work the surface of the wood. Try printing on fabric or other types of paper. Both the block and the prints can be given as gifts, or you can even construct a library of stamps for your own printing lab.
